Sunday, October 09, 2011
Miata Cylinder Head Assembly and Installation
Sunday, October 02, 2011
Miata engine refurb stuff
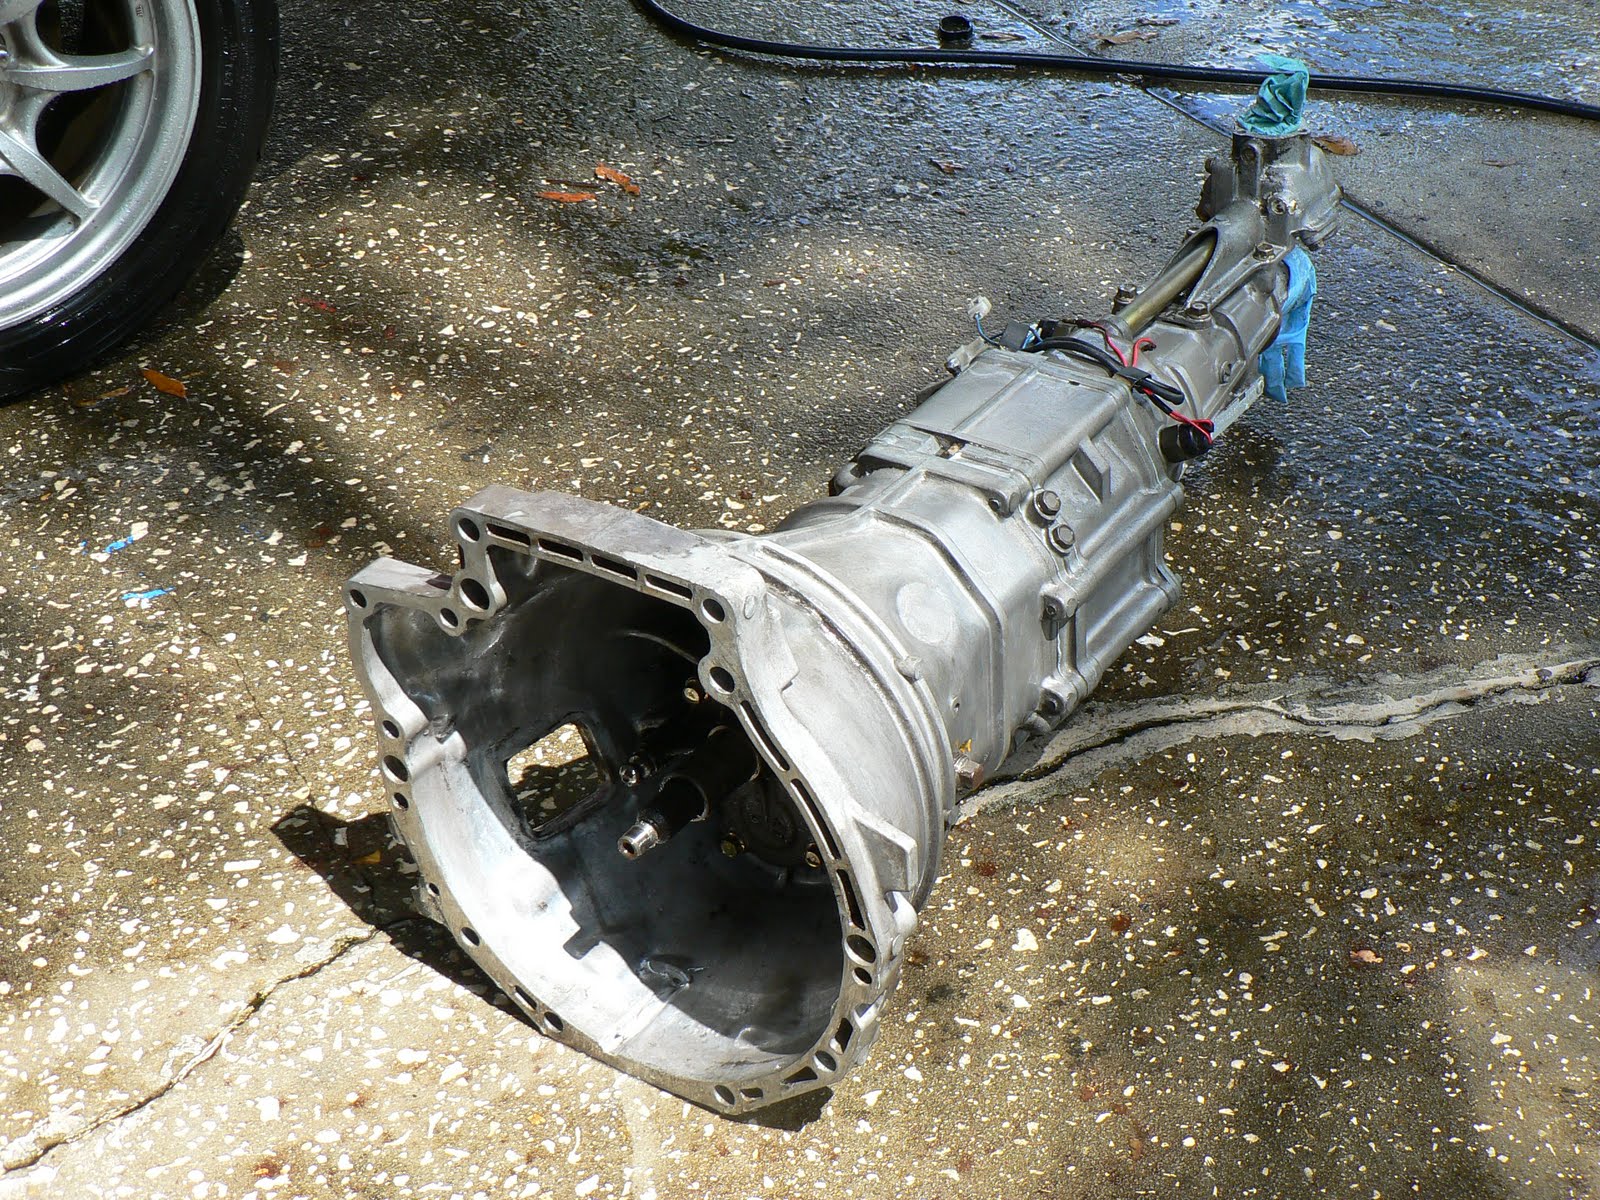
Here's a few more photos from this weekend.
Here's one of the solid lifters with the shim attached. I pulled out all 16 lifters and measured the shims. One lifter was missing its shim entirely. I had to make a best-guess as to what size shim would work best in the spot, so I just ordered a couple that were close in size to all the other shims on the intake cam. The ones available from Mazda were mostly not close in size to the shims I have so it may be tricky to get everything in spec. I can't go any farther with the head until I get that shim but it should be here by next weekend.Monday, September 26, 2011
Removing Miata Engine and Transmission
Once the assembly was out, it was very easy to separate the block from the transmission. The hard part was then getting the flywheel bolts out. They are installed with quite a bit of tourque and the engine just wants to spin. My impact wrench is not a very good one (need to fix that) so it wouldn't budge the flywheel bolts at all. Absent an impact wrench, the only way to attack it is to somehow lock the flywheel so you can wrench on the bolts without the engine spinning. I did that using the attachment arms from my engine stand, but some steel strapping can be used to the same effect. From there, I used a breaker bar and the handle from my floorjack and was able to get the bolts loose.
With the short block on the stand, I then cleaned the deck of the block and used some aluminized tape (not duct tape but the stuff A/C contractors use to seal duct work) to cover the top of the block so I didn't get water on top of the pistons in the next step. The engine bay is just about empty. I bagged the connector-ends of the wiring harness and covered the fuse block and the relays as best as I could. The next step there is to prep and paint the subframe and front suspension. Then paint the engine bay. Just as I suspected there was a bad rear main seal leak. The bellhousing was very oily and messy. The clutch was fine, though. The next step involved a pressure washer and a bunch of Purple Power. I pressure washed the engine bay, front subframe, and everything else I could get to in the front of the car (great opportunity to really clean out the A/C condensor). Then I pressure washed the transmission and the short block, using plenty of degreaser.Nice clean tranny. I will probably paint it with Eastwood Aluma-blast.Here's a few more photos in no particular order to help fill in some gaps.
Sunday, September 04, 2011
Depths of the Engine
There's a bit of carbon on the piston tops, but not too much, and the valves and spark plugs look like the engine was running very lean, despite the fact that I thought I had fixed my lean running issue a couple months ago. For sure I was getting less pinging, but I think there may still be a problem. If it's an engine management problem then it will probably still be there when I finish this project because I'm not messing with that.
My good friend Steve offered up a complete cylinder head and intake manifold from a '99 Miata and I'm going to take him up on it. It's a direct bolt-on for this engine and the improvements Mazda made over the '94-'97 head (shown here) were extensive. It's probably good for 7-10 horsepower, which is a lot for these cars. So this head I just yanked out will probably not get reused. Neither will the '96 head I have that I was planning to use. So maybe I can sell both of those and recoup some of my expenses on this project.
Next on the agenda is to get the accessories and the water pump pulled off the front of the short block, and continue stripping the engine compartment so I can paint it. I'm starting to order more parts for the mechanicals. Last night I ordered Mazda Competition motor mounts and a long braided clutch hose from 949 Racing. Also, in the interest of shaving a bit off the budget anywhere I can, I'm going with a clutch and flywheel package from eBay. It's an 11 pound flywheel (stock is close to 20) and an OEM equivalent Exedy clutch and pressure plate, all for under $300. Normally I'm plenty skeptical of cheap car parts, but these have gotten consistently good reviews on the forums so I'm willing to take a bit of a chance since it saves almost $150 over what I had originally planned to get. Also the frame rail reinforcement kit from Flyin' Miata is inbound on the big brown truck from Colorado.
The budget is starting to come into focus as well. Depending on how I cook up the numbers, and counting a few things I've already bought, assuming a budget of about $500 to paint the car myself, and budgeting for a new set of wheels and tires, the total comes to about $3500. Not a bad deal when you consider how cool this car will be and how it will be good for another 10+ years of worry-free driving. That's my theory anyway.
Here's a color I was toying around with. I used Forza on the XBOX to mock up the car with the color and a representative set of wheels. It's between this color and keeping it red. Keeping it red would certainly be less work.Sunday, August 28, 2011
Pushing Ahead
I also started the repairs to the cracks on the dashboard. Using some Permatex PermaPoxy Plastic Weld epoxy (available at your Friendly Local Auto Parts Store (FLAPS)) I welded some small strips of plastic to the underside of the dash, spanning both sides of the three biggest cracks. I also smeared some along some smaller cracks that radiated out from the big ones. There are a couple more I need to get to but I ran out of plastic scraps to weld on. I also ordered a plastic repair kit from Eastwood. My plan is to use this kit to tackle the top side of these cracks because the Eastwood kit can be had in black, clear, or white. Of course my dash is black so my hope is that I can effect a top-side repair that blends in. Already, though, the leading edge of the dash is FAR more sturdy and solid. I have high hopes that this will be a good repair.
Sunday, August 21, 2011
Back on track at Sebring
Bare floors
So today I didn't feel like doing anything big, so I tackled a few small jobs. I drained the radiator so I could disconnect the heater core and pull the air handler box off the dash, which makes getting the carpet out in one piece a bit easier. So the carpet is all out. It left a bunch of old nasty insulation halfway stuck to the floor so I scraped that up and got the floor really clean. There were a few minor spots of surface rust where the carpet had got a bit wet a few times, so I used the wire brush to clean that up. I also spent some time cleaning parts and polishing up a few metal parts. I spent an hour sanding the raised DOT lettering off of the tail lights and then wet sanding them with 1000 and 2000 grit sandpaper. I saved the final polishing for later when I machine polish the whole car. The carpet is in decent shape. I'll clean it up and reuse it.
Sunday, August 14, 2011
A little progress
As I'm taking things apart, I'm finding plenty of seals and gaskets that are shot and need to be replaced. So I placed an order at Rosenthal Mazda for the seals around the tail lights, the beltline moldings on the doors, and a couple other odds and ends. The costs add up quickly but it's cheaper than buying a new car!
I spent quite a bit of time cleaning up the trunk of the car. A leaky rain rail deposits quite a bit of dirt in the nether regions of the trunk. I plan to respray the inside of the trunk so it needs to be clean. I removed the rear fascia, the battery, all the hardware inside the trunk, the center brake light, the trunk lid seal, the frankenstein bolts with the chrome hardtop mount trim plates, and the radio antenna mount. I pretty much had to destroy the frankenstein bolts to get them out. The head of the bolt came out but left the stud in place. I had to twist the stud out with vice grips. I'll just install new bolts.
Here's a goodie. A perfect, new HVAC control panel faceplate. The original one has become very yellowed and shabby looking. This piece was just over $20 from Mazda Motorsports and replaces the entire front face of the HVAC control panel. The part number is NA01-61-C04A.
I also got a new windshield molding, so I can take the old one off when I paint. That will make masking a lot easier and allow me to paint right up to the glass and have a much nicer edge. Part number is NA01-50-601A (MLDG UP, FRT WNDW) (LOL @ their part names).
Monday, August 08, 2011
The Reconstruction Has Begun - Spider 2.0
So the plan is to take the interior apart, seats and dash out, with the goal of fixing the cracks in the dash, replacing the heater core (a leak is an eventual certainty), refurb the gauges and switchgear, do something about the seats (the leatherette covers are not holding up well) and yank the soft top out permanently and generally just clean everything up.
Then, the engine is coming out so that I can work on it easier. The goal is to replace the clutch/flywheel with a lightweight flywheel, fix the BIG oil leaks the car has had for the last few years, clean everything up, install a refreshed cylinder head, and while the engine is out, paint and recondition the engine compartment.
Meanwhile, in what is probably going to be the largest part of the job, the exterior is going to get painted. I have some small dents to fill, and I'm going to eliminate the badging on the car. I have not yet decided on a color but I do think I will be changing the color from the factory red. Finally, when it all goes back together, new wheels and tires will complete the package.
Fortunately, the suspension, exhaust, and electrical in the car do not need much if any work. Just a general cleaning up. I've also got a Flyin' Miata frame rail reinforcement brace kit on order, to restore some of the stiffness the car has lost over the years.
As you can see from the photos, the dis-assembly of the car is well under way. The seats and dash are out and almost all of the exterior trim is off.
