Showing posts with label Mazda. Show all posts

Monday, January 25, 2021

Miata is complete! Complete refurb including interior and paint.

I finally got the Miata out for a photo, just before I stuffed it into my storage facility. The most significant change of note here is the new set of 15x7 Enkei RPF-1 wheels with Continental Extremecontact Sport tires in 205/50-15 size. I considered 8-inch wide wheels but that pretty much limited me to 225 width tires and I couldn't get the ones I wanted. Plus I think the 15x8 and wider wheels look a little funny on a Miata. It looks a bit clumsy to me. Just my personal impression, of course, and if I were autocrossing or tracking the car I'd want as much width as I could get. Also of note: you don't get center caps with RPF-1's so I had to order some separately. I found a company called Flatout Graphics that sells them with nice Enkei logos which you can choose in any color. I chose red.

I've yet to drive more than a few miles on these new ties, but they're the same tires I use on my Cayman S, and I like them.

So, for all intents and purposes, this project of restoring this Miata is complete. There's really not much else that it needs, and I've certainly spent far too much money relative to the car's actual worth. My goal now is to actually drive it, and of course I want to drive the Cayman, too! It's tough when you don't have to go anywhere for work, to put miles on cars.

Wednesday, September 23, 2020

New Suspension for Miata

I finally got around to working on the suspension on the Miata. Back in June I bought the VMaxx Classic coilover kit from Flyin' Miata, and in September I actually installed it. I won't go into the specifics of how I did it because there are hundreds of write-ups all over the net about it. Since both my lower ball joints and outer tie rod ends were completely shot, I replaced them as part of this, too.
Here you can see just how bad the tie rod ends were with almost 180,000 miles on them. Top is old, bottom is new. I sourced new ones from supermiata.com. The lower ball joints were just as bad. I bought new Proforged ones ones from Rockauto.com. Sorry I didn't get a good photo of those.
Here are the front VMaxx units. Very nicely built and Flyin Miata supplies the needed parts to convert the NA to the better NB style top mounts. These don't come assembled so there is a little extra work to put these together and torque the top mount bolts down, which can be a bit tricky but is not too bad.
Here's a rear assembly alongside the old Tein unit that was on the car. These were installed in 2004, so they were getting pretty long in the tooth. You can see the Tein uses a much shorter spring and has the old NA top mount. I do think the VMaxx design with the NB mounts is much better. I think the VMaxx would be fine without the tender spring, but there it is and maybe it has some small benefit.
Here's a front unit installed and you can see that while I was in there I decided to replace the brake rotors and freshen up the calipers with a coat of paint. I used some caliper paint from POR-15. The rotors are from Centric and have the center hat already painted black. I did this at all four corners and also took the opportunity to lube all the caliper slider pins. I put the same pads back in as they had plenty of meat left. I wish they weren't green.
Just to show where the ride height ended up. The FM instructions say to start with the fronts at 9 inches from the lower mount bushing centerline to the bottom of the spring perch, and 5 inches in the rear. That put me pretty close to stock height, and not as low as I wanted to be, so I moved the spring perches down about .75 inches and it's pretty good. I could go a lot lower but don't want to.

Driving impressions: I've put a few dozen miles on the car since this was done and I'm very happy with it. The ride on the VMaxx Classics is supple and just firm enough to know it's a sports car. Sawing at the wheel doesn't upset it at all and with the new ball joints there is a lot less clonking going on. Bumps don't upset the car nearly as much. The brakes feel better and the car just feels finished. For the first time in 3 years, this feels like a car I can put my wife in and we can go somewhere without feeling self-conscious.

Tuesday, April 14, 2020

Miata Spoiler

I picked up this Garage Vary licensed spoiler from RSpeed three years ago, just waiting for this project to happen. I still had the original R-package spoiler that came with the car, but the styling of that piece looks a little dated to me, so I decided to try this style. If you're familiar with the R-package spoiler, you'll know that this spoiler has a bit more aggressive angle to it, and is slightly shorter. I was really on the fence about even using this spoiler. I like the car without any spoiler, but I had it painted so felt it worth the effort to install it just so I can live with it for a while to see if I like it enough to keep it. It took two tries to get it installed. My first attempt went on a little crooked and the double-sided tape didn't make good contact all around. I was able to yank it back off and apply new tape, and on the second attempt I managed to set it in the right place. Now removing it will involve fishing line and lots of goo-gone.
Here you can also see the shiny, brand-new factory Mazda tail lights I bought from Priority Mazda.
UPDATE: September 2020 - it has taken me three attempts to get this thing to stay on. The double-sided tape it came with didn't make enough contact with the trunk lid to stay stuck. I added a second, thicker layer of tape and it also didn't stay stuck. My third attempt involved adding short pieces of tape at very strategic locations, on top of the original tape, so that there would be enough thickness of tape to actually touch the body panel. The problem is the bottom surface of the spoiler is slightly concave, and the tape just doesn't protrude enough. This third attempt seems good, but it's only been one day. If it comes loose again I'm chucking it in the trash.

Thursday, March 12, 2020

Destroyer Grey Miata

Here she is, just as I got her home from the paint shop. Lots of reassembly to do but I’m absolutely thrilled with how the paint turned out.
The color is a Dodge color called Destroyer Grey but it’s really a classic nonmetallic grey similar to some used as far back as the 1960’s. It reminds me of Porsche Slate Grey although side by side that color would look a bit different.
They even fixed the hood alignment.
I have a bunch of new parts to install and some old ones to reuse. I sprung for new taillights to replace the originals that are now 27 years old and getting pretty hazy. I have a bunch of new moldings, cowl panel, interior carpet, Raydot style side mirrors, rear spoiler, and will be refinishing the original front air dam and rear skirt.

Saturday, February 29, 2020

Finally some progress to report

Hello! Yes, I'm still alive. The long-awaited day has finally arrived. I just dropped the Miata off at my local Maaco paint shop for a full repaint. I'm changing the color to Dodge's Destroyer Grey. I had wanted to paint it an old Porsche color - Slate Grey, but it turns out that color is hard to come by in modern paints. The shop tried very hard to cross reference the old Porsche paint code to something they could mix up, but to no avail. I'm sure a real Porsche restoration shop can do it, but Maaco can't. So this Destroyer Grey seems to be pretty close, if perhaps a bit darker, which is fine with me. I really just wanted it grey, and I wanted the car to not look terrible anymore. I did a ton of prep work myself, which may or may not pay dividends. It's not paint-ready, so the shop is still going to do some sanding and prep on it, but I got all the old dead clear coat off and most of the color coat. I also removed as much of the trim as I could - all the window moldings, beltline molding, side marker lights, and most of the interior. I'll post an update when the car comes home. I'll have a good bit of reassembly to do, but that's easy stuff. Then it needs new tires and probably a suspension refresh.

Thursday, August 02, 2018

Back At It (Miata Paint)

Slowly but surely I'm making progress in preparing the Miata for paint. I could just drop it off at a paint shop and pay them to do everything, but to ensure that the job is as good as it can be, for the amount that I'm willing to spend, it's best if I do as much of the prep as possible.
So I'm sanding all the old dead clearcoat off. First I'm sanding with 220 grit, and then I'll go back and do a quick pass with 400 grit. Anything else it needs I'll have the paint shop do.
It's a slow and tedious process and I only have a couple hours per week to spend on it. Updates as I get closer to being done.

Sunday, June 25, 2017

I Have a Confession to Make - 94 Miata Paint

I have this thing that's eating away at me. It's been happening for about a year now. I don't advertise it although it's not a secret; but it's time I do something about it.

The paint on my '94 Miata has failed. The clear coat just fell off. If you look back in this blog to the end of 2011 you'll see I did this paint job myself in my garage. It turned out ok. Not great but ok. For the $500 I spent on it, it was fine. I started to see the first indications of a problem in late 2015, just as we moved from Tampa to Knoxville. There was a single small bubble in the clear coat on the hood. It was the size of a pin head but I knew what it meant. Once in Knoxville, the car had to be parked outside. The damage unfolded quickly from there. By spring of 2016 the car still looked ok from 10 feet away, but the de-lamination of the clear coat was progressing apace. By the spring of 2017 the destruction was pretty much complete. So, my DIY budget paint job lasted between 4 and 5 years. I'm fine with that. I didn't take care of the paint and I didn't expect it to last forever. It was a stopgap measure from the start.

So, a paint job is forthcoming. I will not be doing it myself. I also have a place to store the car indoors now, so once this is fixed the issue should not come back.

Large areas of the clear coat are completely gone. I've been encouraging it to come off by pressure-washing every few weeks to remove loose paint. I figure the more I can get off, the less work the paint shop will have to do.
While I'm at it, I'm going to install this RSpeed officially-licensed Garage Vary style trunk spoiler.

Here I've just stuck it on with some painter's tape so I could see what it looked like. I also have some small fender flares from Rev9. I don't have a photo of those so you'll have to wait until they're painted and installed. I'm still debating on color. I'd like to restore the car to the original color, but at the same time I'd also like to do something different. Tough life decisions...

More soon...

Tuesday, May 02, 2017

Revlimiter Gauge Face Install in '94 Miata

So I'm doing some work on the Miata! I've had this Miata for almost 20 years now, and the last year and a half since we moved to Tennessee has been really hard on it. It's been parked outdoors 24/7/365 and for a 24 year old car, that's brutal. I've got some parts and upgrades ordered and it will be getting a complete paint job here pretty soon. I'm also going to find a way to park it indoors. To kick things off, though, I decided to do something I've always wanted to do but never got around to it. I've long been a fan of the bespoke handmade gauge faces made by Adam at Revlimiter.net. His designs are pure genius and the workmanship is top notch. The best part is he doesn't charge an arm and a leg. So a few months ago I ordered a set of his faces, and they proceeded to sit on the shelf for six months or so before I got a chance to install them. This is pretty typical for me, by the way. I have a set of Flyin Miata frame rail braces that I bought in 2012 that I have yet to install. I swear, I'm getting to it.

Anyway, as usual I'm not going to tell you how to install anything. Revlimiter has outstanding instructions on the website. Instead I'll just post some photos and make some comments.

Just for reference, here's the old gauge faces just before I took them off.
I just thought this was interesting. In 20 years of Miata ownership I've never seen these parts. I think they're wonderfully analog!
New faces in place.
Getting the needles lined up right. The only tricky one was the water temp gauge. It just wanted to read too low no matter what I did. I finally got it to point straight up when the engine is warm. That's close enough for this inaccurate gauge. Ditto the OPG. The numbers don't mean much. I checked the speedo against GPS and it's within about 2 mph at 40 mph. The tach seems to read too high unless I set it too low at idle. I don't care.
The finished product.
Here's how they look at night.
This is a meaningless yet strangely satisfying modification. I think it bodes well for where I'm going with this car. More to come.

Sunday, March 13, 2016

94 Miata Engine Rebuild - Part 4

Time to finish up the story of my engine rebuild in the 1994 Miata. The first part of this is here, here is part two and part three. The images that follow are roughly in chronological order, but not exactly. I'll just briefly explain each photo so you'll know sort of what's going on. My purpose here is just to let you know what you're in for if you're doing this, not explain exactly how to do it.


Once the pistons were all assembled and installed, and the rod bearings installed and torqued down, it was time to build the motor up. Here you can see the tops of the '01+ pistons. If you were to compare to the '94 pistons you'd see these are a bit more domed on the top, which is what provides the additional compression. You can also see where they are marked as oversize with the 0.50 stamp (upside-down in this image).

The next step is to plop the cylinder head back on the short block. I didn't get a photo of the head gasket installed but there's nothing tricky about it other than to make sure you don't block the oil feed to the head. There's only one correct orientation for the head gasket. I didn't disassemble the head for this rebuild since it was just refreshed about 25k miles ago.

Next the intake manifold goes back on.

This photo shows the VICS butterflies in the '99 intake manifold. You can see by default they are open. I don't have a way to control these yet so for now I opted to wire them shut. Even though I don't get the (admittedly miniscule) benefit of VICS, the '99 head still flows tons better than the '94 head and also has the solid valve lifters that are much less problematic than the HLAs of the '94.

Next I assembled the crank nose with the timing belt cog and a new key. You can also see the new oil pump I installed and some of the sealant spooging out from the front of the oil pan. I had to trim away this excess sealant as it interfered with the pulley boss a bit later.

This photo shows the orientation of the fuel pressure regulator and the new fuel hose connector to mate the '94 fuel system with the '99 fuel rail. This is discussed in great detail in an earlier blog post but since I got this better photo I wanted to include it.

Keep building. Here the timing belt and water pump is installed, also the throttle body, thermostat, some coolant hoses, and the A/C belt idler (my car has no power steering pump).

Close-up of the belt idler for the A/C belt. Cars with power steering will have a power steering pump here.

The front of the engine is pretty much fully dressed. The alternator is in place, the water pump pulley, and crank pulley.

Motor mounts are next. I went back to the standard mount after having Mazda Competition motor mounts for a few years. I didn't like the extra harshness I felt while driving with the competition mounts. If this was a track car it would be different.

Next I bolted on the flywheel, clutch, and pressure plate. I didn't get any photos of it! I used my trusty Flyin' Miata crank nose tool to lock everything in place while torquing things down. You can see I substituted some grade 10.9 cap head bolts for the original bolts here. No reason to do that if your old bolts are in fine shape.

Next is to mate the engine and transmission. This is much easier to do on the floor of the shop than under the car. I used the crane and the transmission jack to maneuver them in place, then just let the bolts do the work. Now it's time to fly the engine into the car.

This part was a lot harder than it looks. A helper would be very..uh...helpful right here. I was wishing for a bigger crane because this one couldn't quite reach far enough. Note I have a leveler. This is crucial for getting the whole assembly oriented and dropped in place. You have to work in fractions of inches while constantly making adjustments to the attitude of the assembly. Once the motor mounts engage with the holes in the subframe you are home free. Don't forget to reengage the driveshaft with the tail of the transmission as you move it back or you will have to do like I did and unbolt the driveshaft from the differential so you can plug the nose back into the transmission. No big deal but an unnecessary step if you think ahead.

Finally when the engine is bolted in you can start hooking everything back up. The exhaust manifold, hoses, wiring harness, radiator, A/C compressor. Everything you had to unhook before. Refill the transmission with gear lube. You'll probably forget something and wonder why the car won't start. Just be methodical and it will work out. Don't take shortcuts and don't skimp on parts or tools.

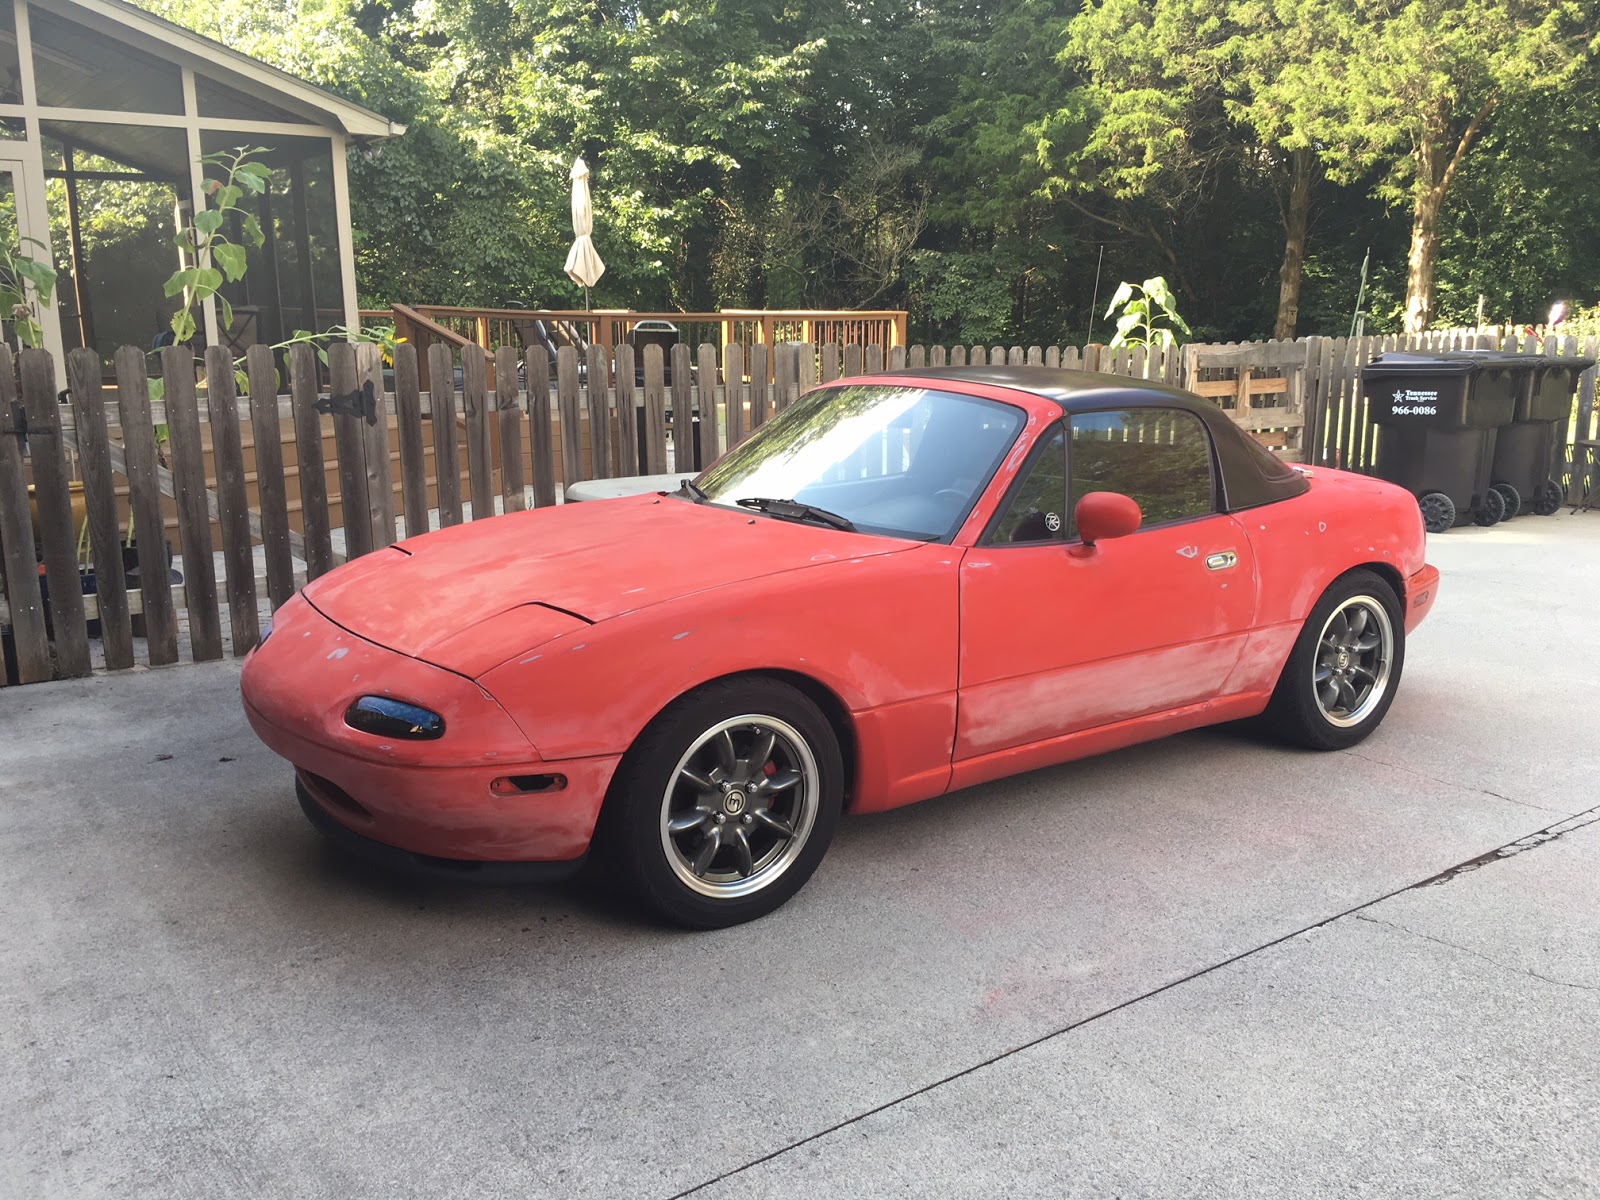
Now that this is done I'm very happy with the engine. It definitely has a lot more power than before, and runs smooth as butter. Now I have to bring the rest of the car up to the standards of this motor. It never ends. Hope you enjoyed this series of posts. Sorry they were so far between.

Wednesday, December 09, 2015

New Wheels Day

After my recent move to Tennessee I'm finally getting back around to doing stuff with my cars. Since I never had to worry about winter weather in Tampa it occurred to me that I might not be able to drive on summer tires year-round anymore. If we get some nasty winter weather (I'm told it can happen here) I need to be able to get around reliably. So, I ordered up a set of Kumho PA31 all-season tires mounted on 15x7 Advanti Storm wheels from The Tire Rack.

I have to say I'm digging the black wheels on this car. They work well with the black hardtop. I'm thinking a small ducktail spoiler on the back might work well now. These wheels weigh only 10.4 pounds so the car feels great. I don't know how much grip to expect from these tires, so I'll be taking it a little easy until I get a feel for them.

Sunday, February 02, 2014

2014 Mazda3s Grand Touring

So, we just picked this up last night. It's going to be my lovely wife Jen's daily driver. She has a long commute and needed something new, and something that gets decent gas mileage. We were looking at a lot of different cars - everything from BMW 3 series to Subaru Outbacks. She came to the conclusion, though, that she needed a big improvement in gas mileage over her old Forester. This thing is supposed to get around 38 mpg on the highway, while her Forester got 24 on a good day. So, with commuting 350 miles per week, the Mazda3 is going to save her around $1000 per year. Sorry the photos pretty much suck. I'll try to take some decent ones soon.
We got the hatchback model. We just thought it looks a little more snazzy and should be quite useful as well.
Jen has a dislike of black interiors so the sand interior was a must. We just got lucky because this was the only s-model Grand Touring hatchback the dealership (or any other dealership nearby) had, and it just happened to have the sand interior. Being the GT model, this is really nice leather.
This is the Skyactiv-G 2.5L engine that produces 184 horsepower. It feels really strong in this application. The car accelerates smartly, and makes a nice snarl when doing it. The fact that this engine has a 13:1 compression ratio and runs on regular fuel is remarkable. I don't think a lot of people appreciate the engineering feat Mazda has achieved here.
The Grand Touring trim brings with it a LOT of features, including Bi-Xenon headlamps, heated seats, an infotainment system with navigation, Bluetooth integration, and a bunch of other neat features. I'll write more as I get to know this car better.