Saturday, November 14, 2020

LED Headlights for the NA Miata

Since the late '90s I've had a set of Cibie H4 headlights on the Miata. If you're familiar with Cibies you'll know they are European-spec "E-code" headlights and as such have a superior light pattern to the ordinary US DOT spec sealed beam lights early Miatas were saddled with. I had them loaded with Halogen H4 bulbs and they performed admirably for many years. Now that we have other cars with modern lighting technology, though, the old H4s were starting to lose their charm with their yellow light which doesn't seem very bright anymore. So I decided to update my car with some LED headlamps with the hope of getting a brighter, whiter light that hopefully would also look cool and fit with the character of the car. Our CX-5 has LED projector lights that swivel to turn toward the direction the steering wheel is turned, and the Cayman has Xenon HID projectors, and both are excellent. So the lights I chose for the Miata are up against world-class competition.

There are a dizzying array of aftermarket 7-inch LED light units on the market, mostly aimed at the Jeep and cruiser motorcycle crowd, but they fit NA Miatas too. I wanted to avoid no-name Chinese units but also didn't want to spend too much money. As it turns out, I probably spent too much money. I found some lights made by a company called Grote. They looked good and upon investigation I found that Grote is a real lighting company and not just a brand created to sell knock-off items on Amazon. Here's where I screwed up (although it was not entirely my fault). The Amazon listing for the lights said "headlights" and I assumed that meant for $150 I'd receive a PAIR. Not so. I received a single lamp. Reading the reviews and comments I should have picked up on that, but I didn't. I bit the bullet and spent ANOTHER $150 to order an additional lamp, and then left a review on Amazon to alert others to the fact that "headlights" does not indicate that you'll receive plural lamps. Almost immediately after I posted my review, the listing was corrected to say "headlight" - singular. So, you're welcome.

To be honest; the jury is still out on these lights. I hardly ever drive anywhere myself because I work at home, and if my wife is with me we usually take her CX-5, so I have very little night-time driving time behind these lamps. Compared to the Cibie's the light pattern is not as precise. There is a sharp cutoff at the top, but there is a weird bright spot in the middle of the beam which I don't like. It also lacks the characteristic E-code "kick up" to the right which is useful for illuminating road side signs and such.

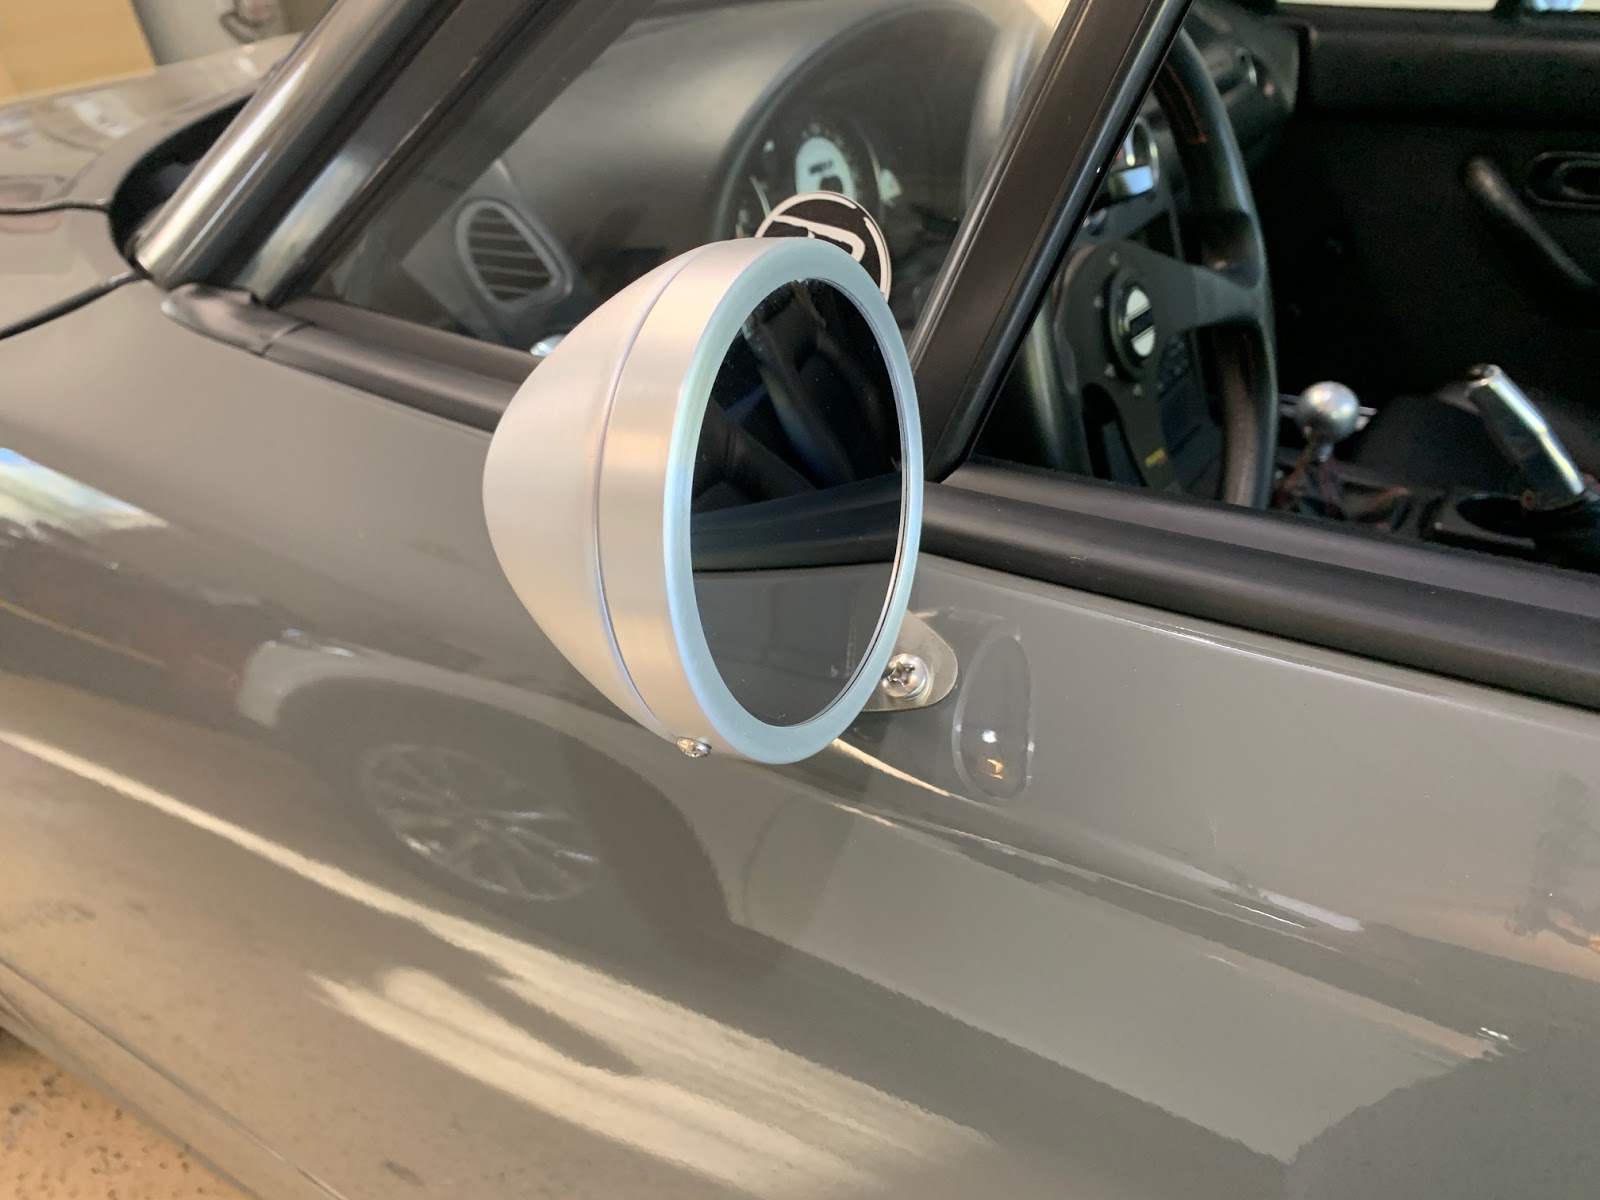
The lights are very pretty to look at. They have a classic look and don't look ridiculous like most of the LEDs on the market for Jeeps.
Here's the light pattern from a single lamp. Pretty good but not great. There's no kick-up to the right like an E-code has.
Here's the pattern from one Cibie lamp. SO YELLOW but the pattern is actually really good; although it does have a bit of a hot-spot too.
Side by side, Grote and Cibie. Ignore the aim as I had just had the car in pieces and didn't re-aim the lights yet.
Here both Grote lamps are installed and these are the high beams.
Low beams. I'm not enamoured with the hot spots in the center of each beam but I will have to get out for a longer drive at night to really make an informed judgement.

The question I now have in my mind is whether there's an LED H4 bulb that would perform admirably in the Cibie housings. I've seen a couple threads on the Miataforum where people have had decent results, but no long-term reviews. If the LED H4 is designed carefully I think it could give the correct light pattern in the Cibie housing, however just throwing any LED that fits without regard to the reflector design is unlikely to work well. Some LED bulbs have big heat-sinks on the back, too, which may interfere with the Miata's pop-up headlamp design. I'll update this post when I know more.

Wednesday, September 23, 2020

New Suspension for Miata

I finally got around to working on the suspension on the Miata. Back in June I bought the VMaxx Classic coilover kit from Flyin' Miata, and in September I actually installed it. I won't go into the specifics of how I did it because there are hundreds of write-ups all over the net about it. Since both my lower ball joints and outer tie rod ends were completely shot, I replaced them as part of this, too.
Here you can see just how bad the tie rod ends were with almost 180,000 miles on them. Top is old, bottom is new. I sourced new ones from supermiata.com. The lower ball joints were just as bad. I bought new Proforged ones ones from Rockauto.com. Sorry I didn't get a good photo of those.
Here are the front VMaxx units. Very nicely built and Flyin Miata supplies the needed parts to convert the NA to the better NB style top mounts. These don't come assembled so there is a little extra work to put these together and torque the top mount bolts down, which can be a bit tricky but is not too bad.
Here's a rear assembly alongside the old Tein unit that was on the car. These were installed in 2004, so they were getting pretty long in the tooth. You can see the Tein uses a much shorter spring and has the old NA top mount. I do think the VMaxx design with the NB mounts is much better. I think the VMaxx would be fine without the tender spring, but there it is and maybe it has some small benefit.
Here's a front unit installed and you can see that while I was in there I decided to replace the brake rotors and freshen up the calipers with a coat of paint. I used some caliper paint from POR-15. The rotors are from Centric and have the center hat already painted black. I did this at all four corners and also took the opportunity to lube all the caliper slider pins. I put the same pads back in as they had plenty of meat left. I wish they weren't green.
Just to show where the ride height ended up. The FM instructions say to start with the fronts at 9 inches from the lower mount bushing centerline to the bottom of the spring perch, and 5 inches in the rear. That put me pretty close to stock height, and not as low as I wanted to be, so I moved the spring perches down about .75 inches and it's pretty good. I could go a lot lower but don't want to.

Driving impressions: I've put a few dozen miles on the car since this was done and I'm very happy with it. The ride on the VMaxx Classics is supple and just firm enough to know it's a sports car. Sawing at the wheel doesn't upset it at all and with the new ball joints there is a lot less clonking going on. Bumps don't upset the car nearly as much. The brakes feel better and the car just feels finished. For the first time in 3 years, this feels like a car I can put my wife in and we can go somewhere without feeling self-conscious.

Monday, June 08, 2020

Cayman Got Driven

Just a quick update from the 2006 Cayman S. It just passed 50k miles last week. I meant to take a photo at the time it happened but was busy driving and missed it. I hardly ever drive anymore, sadly, so the last 500 miles or so took more than a year! I really need to get out more. Even though I have nowhere to go and two cars to go there with (three if you count the family CX-5 which we use for most everything), I'm still doing some maintenance and updates this year. More to come.

Tuesday, April 14, 2020

Miata Spoiler

I picked up this Garage Vary licensed spoiler from RSpeed three years ago, just waiting for this project to happen. I still had the original R-package spoiler that came with the car, but the styling of that piece looks a little dated to me, so I decided to try this style. If you're familiar with the R-package spoiler, you'll know that this spoiler has a bit more aggressive angle to it, and is slightly shorter. I was really on the fence about even using this spoiler. I like the car without any spoiler, but I had it painted so felt it worth the effort to install it just so I can live with it for a while to see if I like it enough to keep it. It took two tries to get it installed. My first attempt went on a little crooked and the double-sided tape didn't make good contact all around. I was able to yank it back off and apply new tape, and on the second attempt I managed to set it in the right place. Now removing it will involve fishing line and lots of goo-gone.
Here you can also see the shiny, brand-new factory Mazda tail lights I bought from Priority Mazda.
UPDATE: September 2020 - it has taken me three attempts to get this thing to stay on. The double-sided tape it came with didn't make enough contact with the trunk lid to stay stuck. I added a second, thicker layer of tape and it also didn't stay stuck. My third attempt involved adding short pieces of tape at very strategic locations, on top of the original tape, so that there would be enough thickness of tape to actually touch the body panel. The problem is the bottom surface of the spoiler is slightly concave, and the tape just doesn't protrude enough. This third attempt seems good, but it's only been one day. If it comes loose again I'm chucking it in the trash.

Wednesday, April 08, 2020

Miata Raydot Mirrors

Even though I had the original mirrors painted with the rest of the car, and they came out looking great, I still wanted to try something different. I got a set of Raydot racing-style mirrors from Moss Motors and the result is quite nice! They look great and have a bigger impact on the look of the car than I expected. The pictures here really don't do them justice. Installation was very straightforward but takes a little trial and error to get the tension on the mount right. Too loose and the mirrors will flop around - too tight and you can't adjust it. You get two identical mirrors which means BOTH are convex, so that takes a little getting used to. But the convexity makes up for the smaller size of the mirror, so it's worth it. They're also a few ounces lighter than the factory mirrors, if that floats your boat.

Monday, April 06, 2020

Interior Updates to the Miata

In addition to the new carpet I showed in the previous post, I did a couple other little dress-up projects in the Miata's interior.

First, I sent off to Revlimiter for a nifty new horn button and some new door sill emblems. All of these are in the vintage Mazda script that is also found on the gauge faces I installed 3 years ago, also from Revlimiter.
The horn button didn't work with the center trim ring that this Momo Tuner wheel normally has, but works just fine if you just omit the trim ring, which I did. I'm fine with the wheel without it.
The door sill emblems replace the original stickers with these made from urethane epoxy. Instead of flat stickers they're a bit domed and have a little "give" to them. These door sills came via eBay a number of years ago, and were pretty well broken in then. I've polished them up a bit but they still show quite a few scratches. I chalk it up to patina and live with it.
So the interior looks pretty nice. Nothing fancy but stock-ish and clean with different elements purchased decades apart. The vent rings are the original "MRoad" rings I must have bought in about 1998. The shift knob and brake handle are Voodoo items from about that same year. The seats I did in 2017, the steering wheel in 2012, and the gauge faces in 2018. The radio is the original from 1994. The door panels I re-did in new vinyl in 2006 or so.

New Carpet for the Miata

One of the bigger projects for this makeover was to install new carpet. The 28 year old original carpet was just in really bad shape, and the insulation underneath it had gotten wet one too many times.

I started out, obviously, by pulling out all the old carpet. It had been wet a few times in the last couple years while this car sat in my driveway waiting for me to get serious about it. There were a few very small spots of surface rust starting, mostly on factory spot welds, so I hit them with a sanding disk and then coated most of the floor area on the driver side with POR-15.
The carpet kit I bought is the basic one from Moss Motors. It comes with insulation (shown) and it's a loop carpet very similar to the original 1994 carpet. That said, this is not a molded carpet kit, meaning the carpet pieces are not formed to conform to the curves and angles of the chassis floor. Instead, it comes in several pieces. There are separate pieces that fit along the transmission tunnel and door sill, and then a piece for the floor that overlaps the side pieces.
As I was installing this carpet I was starting to think I'd made the wrong decision. This kit is significantly cheaper than the fully molded kit, but I wasn't convinced that this was going to turn out looking decent. There are some holes pre-made in sort-of the right places, but there are still some holes you have to make yourself, and some minor trimming here and there.
In the end, though, I feel like it turned out pretty well. You can certainly see the different pieces where the sections overlap, but it doesn't really look bad.
I don't have a soft-top at the moment so the rear shelf came out looking quite clean! This actually works better than the factory carpet did here.
I'm going to get floor mats anyway, so this is fine and doesn't matter.
On this piece, though, I didn't think the kit was good. I actually re-used the factory piece behind the seats. As you can see the factory piece (top) was in decent shape anyway, but the kit piece is completely the wrong size. I just couldn't make it work so happily put the factory piece back in and it's fine.

This is the kit I bought and I do recommend it. A molded kit might be better but it might also be poorly fitting and difficult to install and is a couple hundred dollars more expensive. For this price ($289 at the time of this writing), I can just install new carpet every few years and be happy.

Thursday, March 12, 2020

Destroyer Grey Miata

Here she is, just as I got her home from the paint shop. Lots of reassembly to do but I’m absolutely thrilled with how the paint turned out.
The color is a Dodge color called Destroyer Grey but it’s really a classic nonmetallic grey similar to some used as far back as the 1960’s. It reminds me of Porsche Slate Grey although side by side that color would look a bit different.
They even fixed the hood alignment.
I have a bunch of new parts to install and some old ones to reuse. I sprung for new taillights to replace the originals that are now 27 years old and getting pretty hazy. I have a bunch of new moldings, cowl panel, interior carpet, Raydot style side mirrors, rear spoiler, and will be refinishing the original front air dam and rear skirt.

Saturday, February 29, 2020

Finally some progress to report

Hello! Yes, I'm still alive. The long-awaited day has finally arrived. I just dropped the Miata off at my local Maaco paint shop for a full repaint. I'm changing the color to Dodge's Destroyer Grey. I had wanted to paint it an old Porsche color - Slate Grey, but it turns out that color is hard to come by in modern paints. The shop tried very hard to cross reference the old Porsche paint code to something they could mix up, but to no avail. I'm sure a real Porsche restoration shop can do it, but Maaco can't. So this Destroyer Grey seems to be pretty close, if perhaps a bit darker, which is fine with me. I really just wanted it grey, and I wanted the car to not look terrible anymore. I did a ton of prep work myself, which may or may not pay dividends. It's not paint-ready, so the shop is still going to do some sanding and prep on it, but I got all the old dead clear coat off and most of the color coat. I also removed as much of the trim as I could - all the window moldings, beltline molding, side marker lights, and most of the interior. I'll post an update when the car comes home. I'll have a good bit of reassembly to do, but that's easy stuff. Then it needs new tires and probably a suspension refresh.