Friday, October 21, 2011

Motor done

Ok, I'm declaring the motor DONE. I got the oil pan reinstalled today. The front and rear gaskets cost me $4.50. They go on the curved portions of the pan under the crank. The rest of the pan is just sealed with RTV. I let the RTV cure and then refilled the engine with oil to see if anything leaked. It didn't.
I still have to mount the alternator and the other pulleys and get the right PCV valve but that's trivial. The lower and middle timing belt covers are new. The old ones were a bit chewed up by the water pump pulley rubbing on them. The top cover was kind of expensive so I opted to clean up the old one. Surprisingly, brake fluid makes an *excellent* plastic cleaner and conditioner. I used it liberally on the cover and it came out looking really good.
Here's the back. Note the blue tape on one of the coil plugs and a blue dot on the back of the coil pack. The harness connectors will plug into either coil so the blue dot is a clue. Too bad it's impossible to see it if the coil pack is installed in the car! I put a piece of tape over the dot when I painted the bracket to preserve it for the next time.
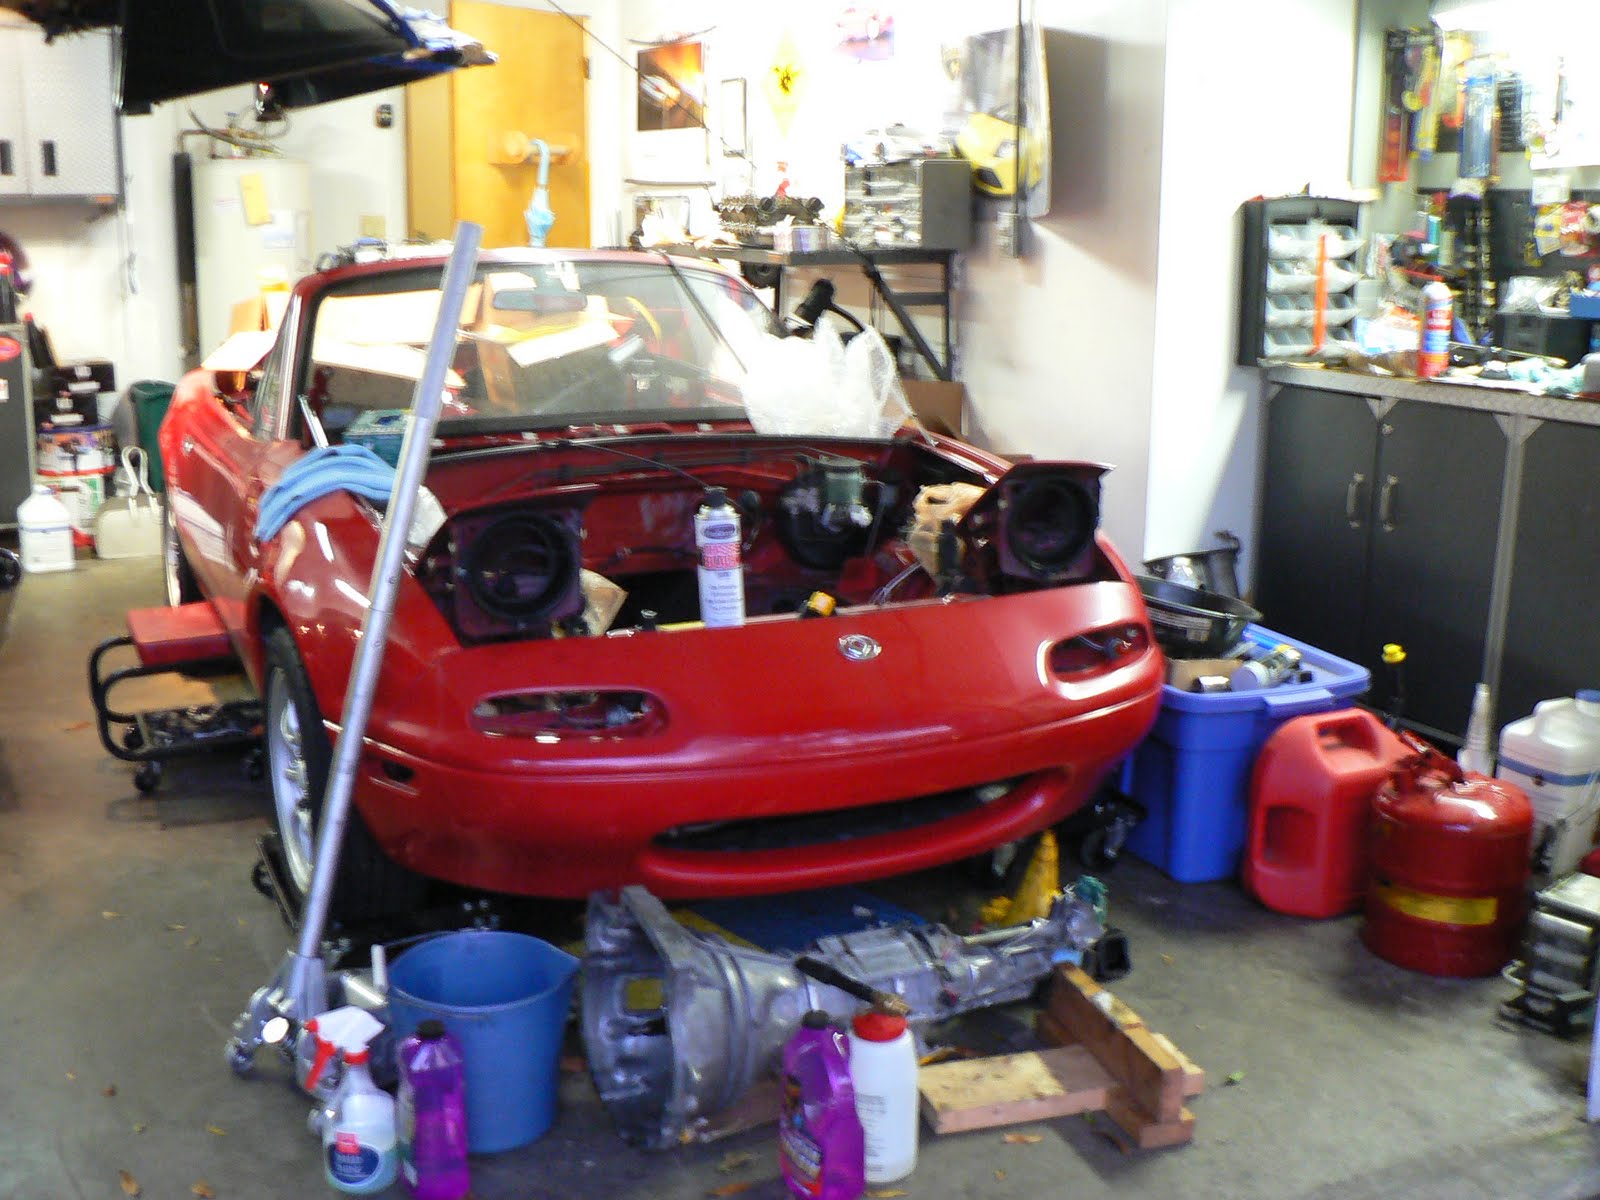
Here's the current state of the car. Now that the motor is done things should start moving along more quickly. Hopefully it will be interesting.

Friday, October 14, 2011

On Leaky Oil Pans and Intake Manifolds

Before I pulled this engine I knew I had some serious oil leaks. I was getting drips on the garage floor and the whole bottom of the car was coated with oil. It was coming from the front of the engine but I could also see some coming out of the weep hole on the transmission. I figured it was the front crank seal and the rear seal. The more I thought about it, the more I started to doubt that such epic leakage could come from just those seals, especially since the front seal was replaced about 35k miles ago and the rear about 45k ago. On a hunch last night I poured 4 quarts of oil into the engine as it sits on the stand. Within minutes I could see it starting to seep out - from the oil pan on both the front and rear of the engine! You don't hear about oil pan leaks on these cars very much, but it looks like I'll be pulling the oil pan off and resealing it this weekend.
So tonight I pulled the oil pan off. I found the plastic seals at both the front and rear to be a little crispy so I'll have to get some new ones before I can button it back up. The local NAPA has them so I should be able to do that this weekend. There's not a gasket per se. The oil pan is sealed with RTV and a bunch of M6 bolts. Meanwhile, I got the injector o-rings and new fuel rail bolts I ordered earlier in the week, so tonight I was able to install the injectors, fuel rail, the new engine harness, and the intake manifold. As you can see I installed the timing belt a couple evenings ago after I found my missing tensioner mounting bolt. It's amazing how easy it is when the engine is out of the car!
I know I had said I wasn't going to polish the oil pan, but now that it's off the engine I will take the opportunity to spruce it up a little. I also wanted to celebrate getting a new battery pack for my long-dead RIGID cordless drill. Sometimes it's easier to use the drill for wire brushing parts than the right-angle die grinder.
To install the '99/'00 NB head on the NA engine, you have to use the NB fuel rail with the NA fuel pressure regulator because the '99 has no return line to the fuel tank. The FPR installs on the opposite end of the rail than on the '94 and the fuel lines are oriented differently. This photo shows the orientation that works. If you flip it over to orient the fuel line downward the vacuum fitting is blocked. You can't see it but the input to the fuel rail is almost directly under this FPR. I'll have to work out the routing of the fuel lines later.
When I took the old injectors out the harness just crumbled in my hands, so I got a new one. It was about $150. This end of the harness plugs into the coils.
Since I'm just re-sealing the oil pan I don't need to mess with this baffle. It was nice to get a look inside there, though.

Sunday, October 09, 2011

Miata Cylinder Head Assembly and Installation

This weekend I concentrated on getting the engine together. The '99 head is going on the '94 short block. I had to install the valves in the head, and before I could do that I had to clean up the valves and lap them into their respective seats. The valve seats were in really very good shape so it only took a minute or so to lap each valve and get a really nice seal to the valve seat.
The valves cleaned up very nicely. They had some carbon deposits that were pretty stubborn but my trusty brass wire brush on my right angle die grinder finally got to the bottom of it.
This $3 valve lapping tool worked just fine. I used some Permatex valve lapping compound, which is very abrasive. It's super important not to leave any in the engine. It's a little hard to see in the above photo, but what you must achieve is a uniform seat surface without any gaps or thin spots. It should be the same width all the way around. Since this head has such low mileage, the valves took very little lapping.
I had to make a tool to install the valve keepers. A 22mm socket with a window cut in it did the trick. Installing the keepers is an EXTREME exercise in patience. Working through a one-inch hole to get the tiny keepers into a tight spot is frustrating to say the least. I developed my technique - sticking the keeper on the end of a small wood dowel (ok, it was a chopstick) with a gob of grease, and finessing it into position next to the valve stem and inside the retainer, and then do it again with the other keeper without disturbing the first one, then releasing the spring compressor without the whole thing coming apart. I got decently adept at it within the first 5 valves, but then for every 3 that go together very easily in just a few seconds, the fourth one fights you for some reason and takes 30 minutes to get done. In my earlier years I would have broken some things. There are some benefits to growing older and more patient.
This is the coolant fitting on the back of the '94 head. For some reason it got really badly corroded. It was leaking coolant onto the top of the transmission bell housing.
For about 20 bucks I got a new one. I just had to transfer the temperature sensors over.
This is why doing a restoration takes a lot longer than you think it will. This bracket came off the back of the '94 cylinder head. I don't even know what it is for, but I decided to transfer it to the new head, and spent almost an hour wire-brushing the rust and grunge off of it, and painting it with aluminum paint. If this was a REAL restoration I'd have to have it cadmium plated.
Next I fitted the head gasket. Note that it will fit in any orientation but there is only ONE orientation where all the correct coolant and oil passages are clear. I checked it and double-checked it to make sure I got it right.
I bolted the head down, torquing the bolts in a spiral pattern from the middle, to 58 foot-pounds. Then I dropped the lifters in.
Next I installed the cams, the cam bearing caps, and torqued them down to 115 INCH-pounds. Actually, I don't have a torque wrench that reads inch-pounds, so I very carefully used my 3/8" torque wrench set to 10 foot pounds. I also went ahead and installed the water neck with a new o-ring, and installed the cam gears torqued to 40 foot-pounds.
Next I installed the water pump, the outlet pipe, and set the cam cover on top for good looks. It's not bolted down yet. The water pump bolts are torqued to 16 foot-pounds.

Sunday, October 02, 2011

Miata engine refurb stuff

So this weekend I got into re-doing the engine. I got the block cleaned up and painted, the pistons cleaned, the '99 head disassembled and cleaned, and the intake manifold cleaned, painted and reassembled. Note that I'm using the term refurb and not rebuild. I did a compression test before I took everything apart and it had 170 psi across the board, so even though this engine has 155,000 miles on it I'm going to leave it alone for now. If it needs a rebuild later I'll take that opportunity to put higher compression pistons in.
After degreasing and pressure washing I used painter's tape to mask off the deck, oil pump body, and all the exposed machined surfaces. Then I just sprayed the block with red engine enamel. It turned out nice!
Here's the '99 cylinder head with the cams off and the lifters out. My next step was to use my valve spring compressor to remove the valves. See my earlier blog post where I posted a video on how to remove the valves. I used a plastic storage organizer with 16 compartments in it to keep each valve together with its tappet, shim, spring, retainer, and keepers. I want them to go back in the same hole they came out of.
Here's the bottom two-thirds of the intake manifold. This is a great view of the butterflies that make up the VICS system. These butterflies are closed by default but open (or I may have that backwards) at a certain RPM (on '99 and '00 models) to a resonance chamber. The chamber is a dead-end so the path the air takes doesn't actually change when the system engages. This won't work at all on my '94 unless I rig up an RPM switch and a solenoid to engage the actuator. Even without VICS hooked up the '99 head makes more power than the '94 head, so it's a good swap either way.
Here's the '99 intake manifold fully assembled and the '94 throttle body installed. I found the water connections on my idle air control valve are quite corroded so I may devise a way to just bypass it. I painted the manifold with Aluma-Blast from Eastwood and it looks fantastic. The throttle body is too complicated and intricate to spray so I polished it up as well as I could with a soft brass wire wheel on my right-angle die grinder.
The '99 head came with a pretty fresh cam cover so I degreased it and painted it with Aluma-Blast.

Here's a few more photos from this weekend.

Here's one of the solid lifters with the shim attached. I pulled out all 16 lifters and measured the shims. One lifter was missing its shim entirely. I had to make a best-guess as to what size shim would work best in the spot, so I just ordered a couple that were close in size to all the other shims on the intake cam. The ones available from Mazda were mostly not close in size to the shims I have so it may be tricky to get everything in spec. I can't go any farther with the head until I get that shim but it should be here by next weekend.

Monday, September 26, 2011

Removing Miata Engine and Transmission

Getting down to the nitty-gritty on the '94 Miata. This weekend I yanked out the shortblock and transmission together, separated them, and got the engine up on the stand where I can work on it.
With the head off, I had nothing to hook onto with the hoist so I used four old head bolts threaded into the block. It worked like a charm and I was able to pull the whole assembly out by myself without any help. I did discover at the last minute that the hood had to come off, but it's only 4 nuts so I was able to take it off and get it out of the way easily.

Once the assembly was out, it was very easy to separate the block from the transmission. The hard part was then getting the flywheel bolts out. They are installed with quite a bit of tourque and the engine just wants to spin. My impact wrench is not a very good one (need to fix that) so it wouldn't budge the flywheel bolts at all. Absent an impact wrench, the only way to attack it is to somehow lock the flywheel so you can wrench on the bolts without the engine spinning. I did that using the attachment arms from my engine stand, but some steel strapping can be used to the same effect. From there, I used a breaker bar and the handle from my floorjack and was able to get the bolts loose.

With the short block on the stand, I then cleaned the deck of the block and used some aluminized tape (not duct tape but the stuff A/C contractors use to seal duct work) to cover the top of the block so I didn't get water on top of the pistons in the next step.

The engine bay is just about empty. I bagged the connector-ends of the wiring harness and covered the fuse block and the relays as best as I could. The next step there is to prep and paint the subframe and front suspension. Then paint the engine bay.

Just as I suspected there was a bad rear main seal leak. The bellhousing was very oily and messy. The clutch was fine, though.

The next step involved a pressure washer and a bunch of Purple Power. I pressure washed the engine bay, front subframe, and everything else I could get to in the front of the car (great opportunity to really clean out the A/C condensor). Then I pressure washed the transmission and the short block, using plenty of degreaser.
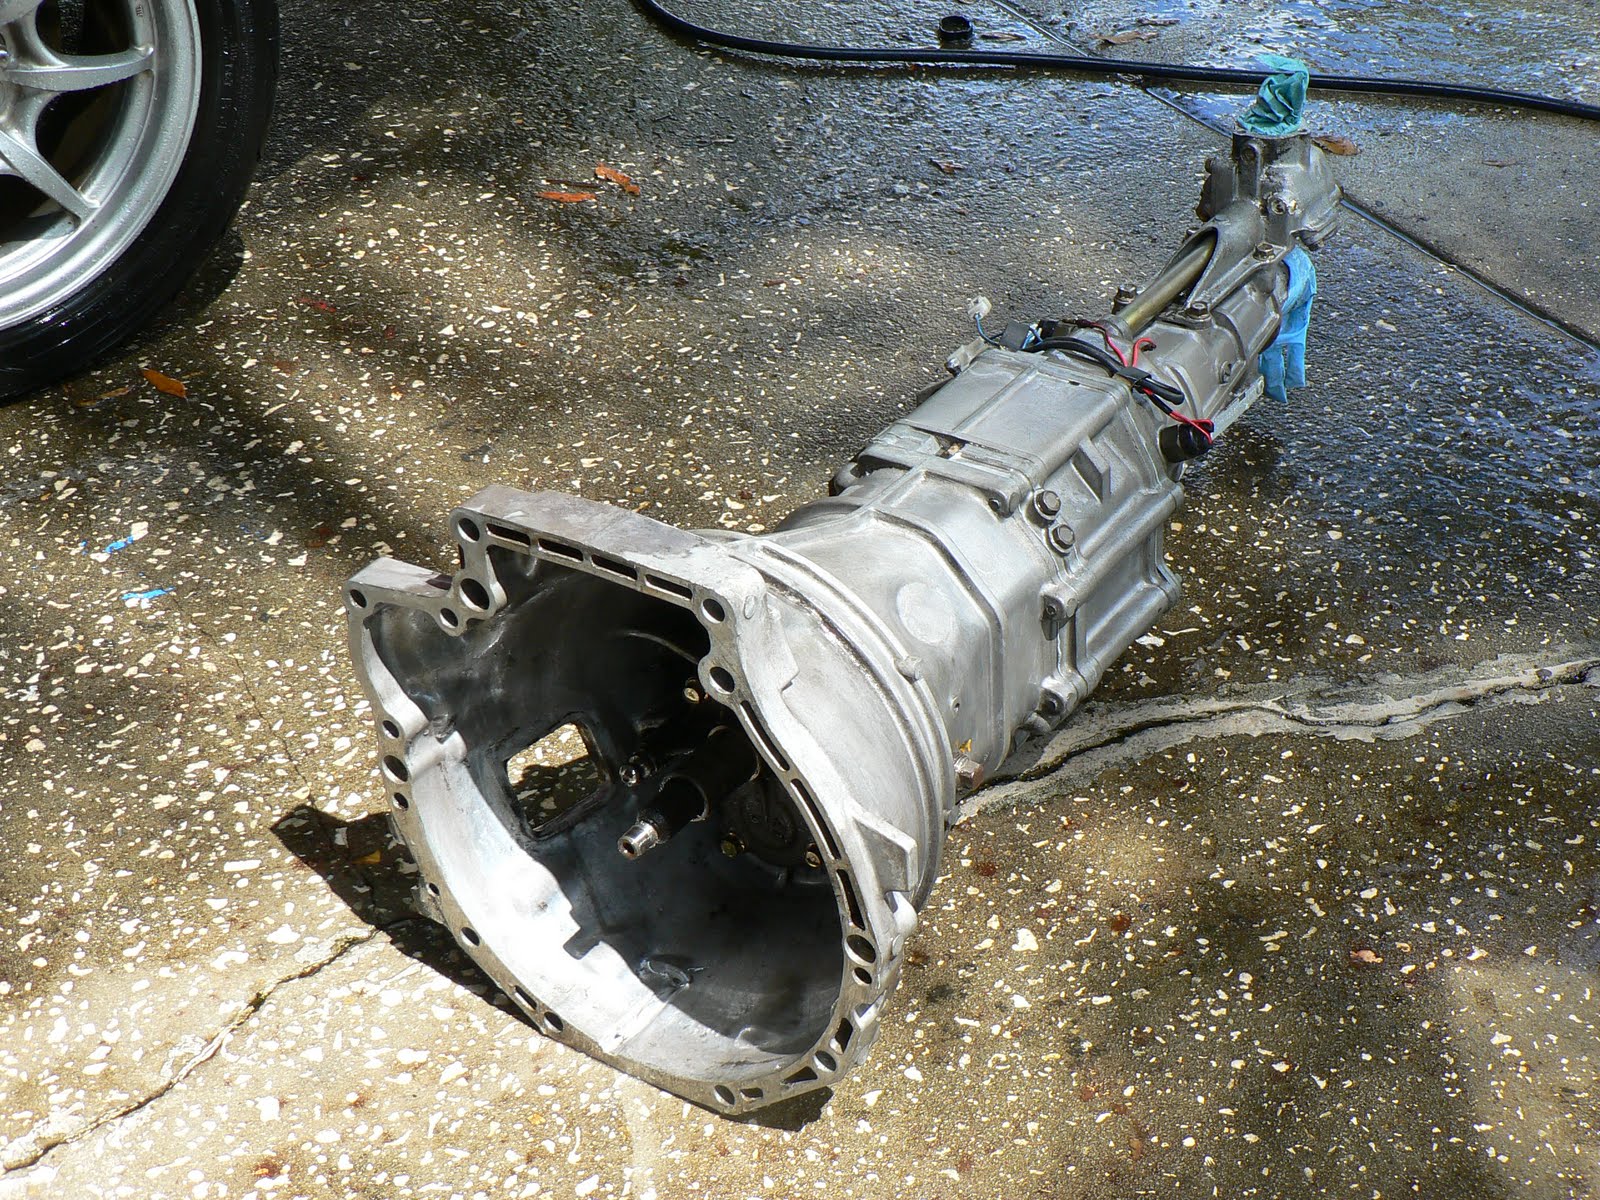
Nice clean tranny. I will probably paint it with Eastwood Aluma-blast.

Here's a few more photos in no particular order to help fill in some gaps.

Sunday, September 04, 2011

Depths of the Engine

This weekend I got the head off the engine and I'm ready to continue pulling parts off the block and get it ready to come out as well. I'll pull the block and transmission together, most likely. Overall, the block looks fine. The cylinder wall don't show any scoring or ridges at all, and the cross-hatching is still visible in most places. I'm not planning to tear it down to take measurements because it still had great compression and didn't burn any oil before I started this whole thing.
There's a bit of carbon on the piston tops, but not too much, and the valves and spark plugs look like the engine was running very lean, despite the fact that I thought I had fixed my lean running issue a couple months ago. For sure I was getting less pinging, but I think there may still be a problem. If it's an engine management problem then it will probably still be there when I finish this project because I'm not messing with that.
My good friend Steve offered up a complete cylinder head and intake manifold from a '99 Miata and I'm going to take him up on it. It's a direct bolt-on for this engine and the improvements Mazda made over the '94-'97 head (shown here) were extensive. It's probably good for 7-10 horsepower, which is a lot for these cars. So this head I just yanked out will probably not get reused. Neither will the '96 head I have that I was planning to use. So maybe I can sell both of those and recoup some of my expenses on this project.
Next on the agenda is to get the accessories and the water pump pulled off the front of the short block, and continue stripping the engine compartment so I can paint it. I'm starting to order more parts for the mechanicals. Last night I ordered Mazda Competition motor mounts and a long braided clutch hose from 949 Racing. Also, in the interest of shaving a bit off the budget anywhere I can, I'm going with a clutch and flywheel package from eBay. It's an 11 pound flywheel (stock is close to 20) and an OEM equivalent Exedy clutch and pressure plate, all for under $300. Normally I'm plenty skeptical of cheap car parts, but these have gotten consistently good reviews on the forums so I'm willing to take a bit of a chance since it saves almost $150 over what I had originally planned to get. Also the frame rail reinforcement kit from Flyin' Miata is inbound on the big brown truck from Colorado.

The budget is starting to come into focus as well. Depending on how I cook up the numbers, and counting a few things I've already bought, assuming a budget of about $500 to paint the car myself, and budgeting for a new set of wheels and tires, the total comes to about $3500. Not a bad deal when you consider how cool this car will be and how it will be good for another 10+ years of worry-free driving. That's my theory anyway.

Here's a color I was toying around with. I used Forza on the XBOX to mock up the car with the color and a representative set of wheels. It's between this color and keeping it red. Keeping it red would certainly be less work.