As usual, I failed to take a logical progression of photos during this job, but I did get a few and will include them here. It should give a flavor of what's involved in recovering the Miata seats. I've had slip-on covers on the original seats for several years now but was never happy with how they fit. So, real upholstery was called for. I bought these covers on Amazon for under $150. For that price, even if they don't hold up, I'm not out much. Except for about 8 hours of labor, of course.
The hardest part of the whole operation is getting the old covers off the foam cushions. There are a ton of hog rings that you have to cut. My pair of dykes was barely up to the task. It takes a ton of hand strength to cut them. If you do this job, do yourself a favor and get a nice new pair of really big dykes. By the end of the second seat, my hands were worn out and my dykes were dull so I could barely cut the rings anymore. I ended up cutting a bunch of them with a Dremel tool.
The seat back is in two major pieces. Pay attention to how they come apart so you'll know how they go back together. It's not entirely obvious. The center piece is held in by the upholstery itself.
There. That sort of shows it.
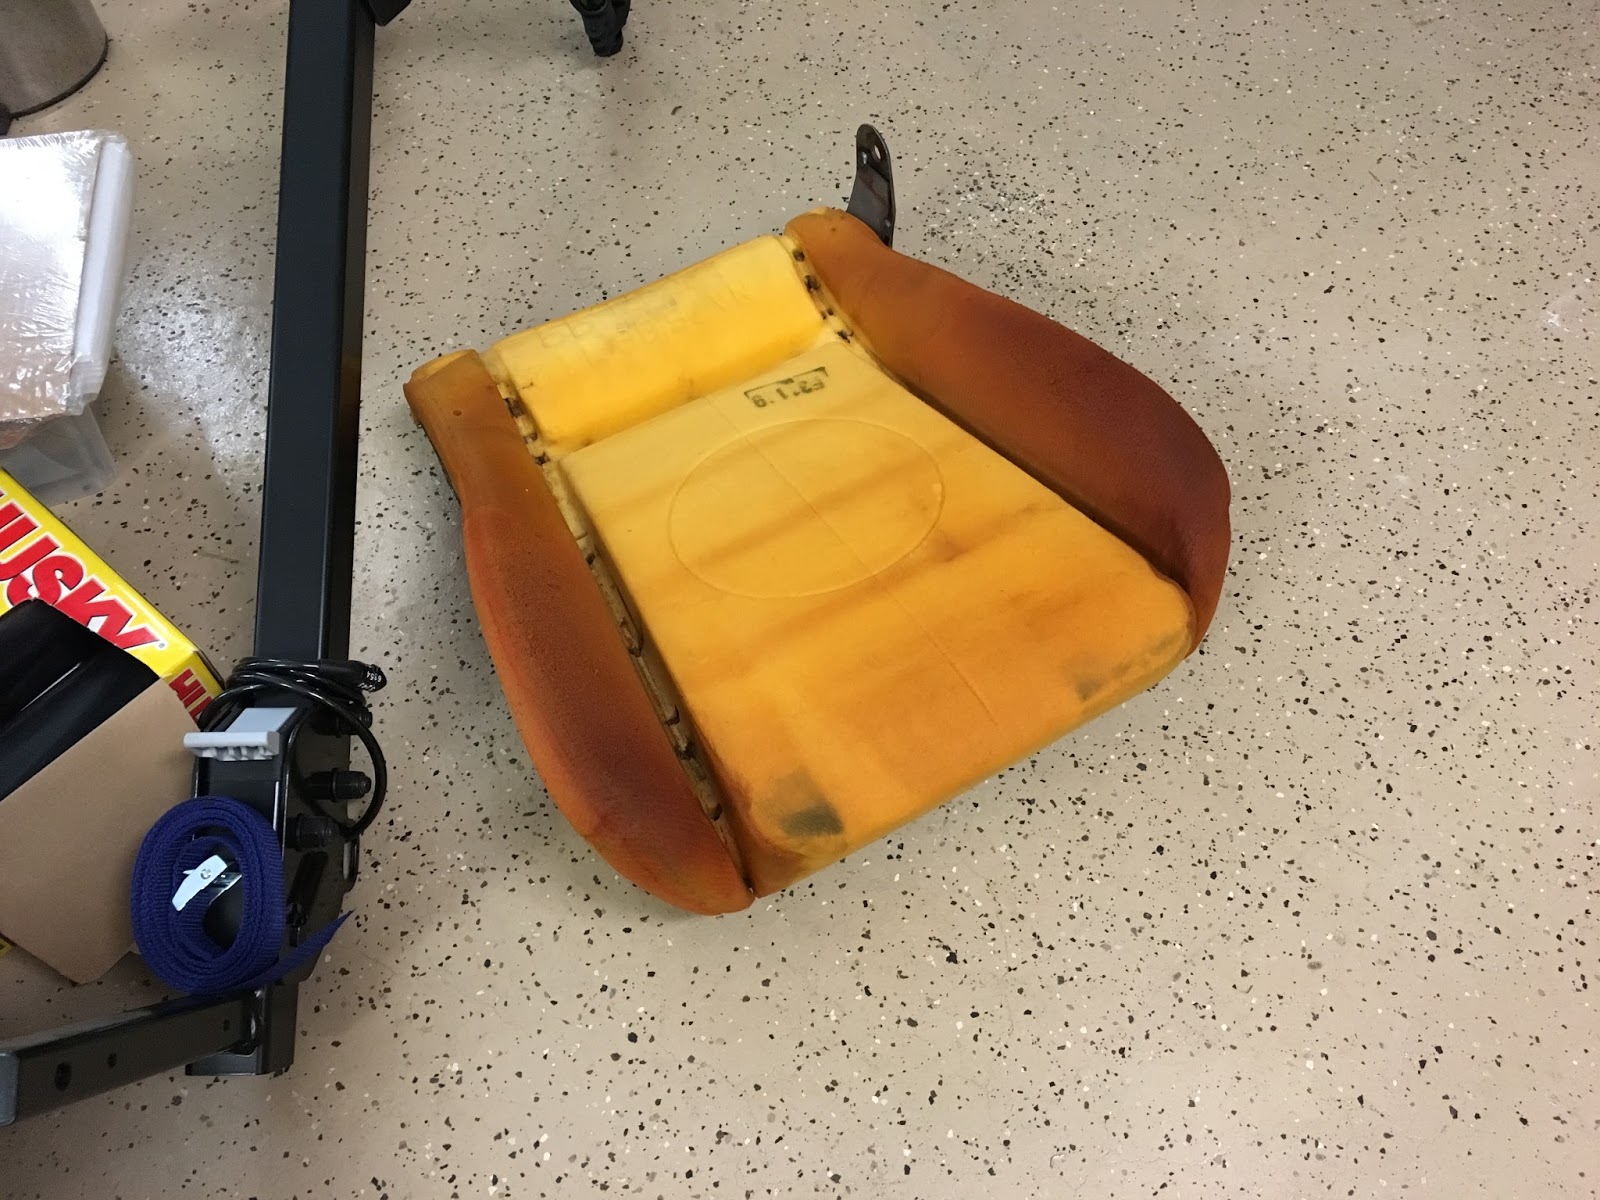
The old foam is in really sad shape, but new foam was not in the cards. It's either unavailable or really expensive. I used gorilla tape and some polyester batting to shore up the side bolsters.
The other problem with the foam is that there are metal rods on either side of the main center seat cushion that were pulling out of the foam. These rods are what the hog rings loop around and give the seat its upholstered shape. I fixed it using some 16-gauge aluminum wire...
...pushed through the foam over the rod...
...and secured on the underside with a wooden dowel (chopstick). This gives the new hog rings something to pull against, rather than just rip out of the foam.
The seat pans were also really rusty. Some Rustoleum gray primer fixed them right up.
Fully restored seat pan. I also cleaned and lubed the sliders.
Wrapping the underside of the seat-back is a bit tricky. Lots of stretching required. I did a lot better on the second one than the first.
Finished product. I'm pretty happy with how these turned out.
No doubt the vinyl will be quite hot in the heat of the summer, but it's worth it for seats that aren't absolutely gross. This project breathed a lot of new life into this car.
One final note - I used a lot of zip ties instead of hog rings. In many cases, it was a lot easier to get a zip tie in place. In some cases the hog ring worked better, though, so be prepared to use both.


No comments:
Post a Comment